
• NEWS AND UPDATES

    The latest updates regarding our products and our company

What Are the Top Types of Science Lab Equipment?

Choosing science lab equipment starts with understanding the work a laboratory needs to perform. A school classroom, a diagnostic facility, and a research lab require different tools. Yet each depends on equipment that is suitable, dependable, and properly maintained.

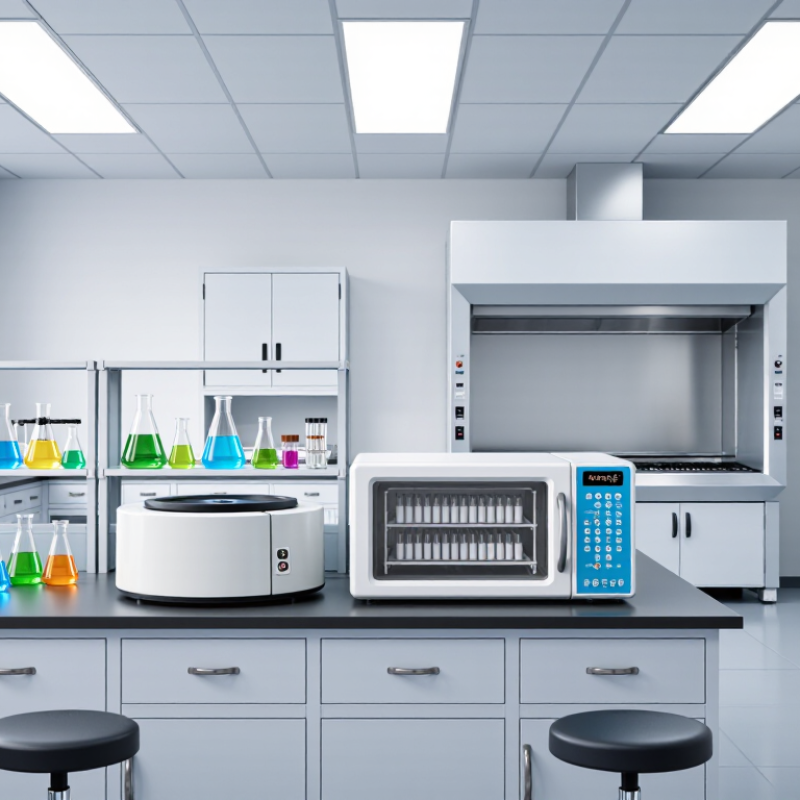
Astronomer and science communicator Carl Sagan wrote, “Science is a way of thinking much more than it is a body of knowledge.” That idea applies to laboratory tools, too: instruments support careful questions, but they cannot replace sound methods. A microscope brings cells into view; an analytical balance measures a small mass; glassware holds, mixes, or transfers samples. Centrifuges separate materials by spinning them, while incubators provide controlled conditions for growth or testing. Spectrophotometers measure how samples interact with light. Fume hoods and autoclaves serve different safety and sterilization needs.

The right choice depends on accuracy, capacity, materials, and ease of cleaning. Calibration matters. So does training. A sophisticated instrument can produce poor results when users overlook its limits or skip routine checks. That detail is easy to miss.

This guide compares common equipment types and explains what each one does. It also considers practical factors such as workspace, maintenance, and budget. No single list fits every lab. Even a well-equipped room can reveal gaps once real work begins, so selection should remain thoughtful and open to review.

What Are the Top Types of Science Lab Equipment?

How Science Laboratory Equipment Is Grouped by Function

Science laboratory equipment is easiest to understand by function, not by size or appearance. Measurement tools include balances, pH meters, and microscopes. They turn observations into readings researchers can compare. Sample-preparation equipment includes pipettes, centrifuges, and water baths. A spinning centrifuge separates material; a warm water bath keeps samples at a steady temperature. Small details matter.

Containment equipment protects people and samples. Examples include fume hoods, biosafety cabinets, and sealed centrifuge rotors. These devices are not interchangeable: the right choice depends on the hazard and task. The World Health Organization’s Laboratory Biosafety Manual, fourth edition (2020), recommends risk-based selection of safety measures rather than one universal equipment list. That distinction is practical. A cabinet may look suitable, yet still fail to control a specific risk if used incorrectly.

A fourth group supports the lab environment: refrigerators, freezers, ventilation, and purified-water systems. The International Institute for Sustainable Laboratories’ energy benchmarking guidance reports that research laboratories can use roughly five to ten times the energy of office buildings. This makes efficient cooling and ventilation important, not merely convenient. The categories overlap. A freezer stores samples, but also affects energy use and sample quality; equipment lists rarely show that whole picture.

Glassware and Containers for Holding and Preparing Samples

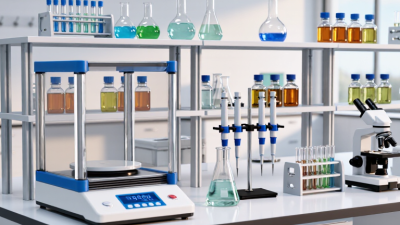
Glassware and containers shape how reliably samples are held, mixed, heated, and measured. Beakers suit mixing and rough volume checks; they are not substitutes for calibrated volumetric flasks. Erlenmeyer flasks reduce splashing during swirling, while graduated cylinders offer clearer volume readings. For trace samples, clean, tightly capped containers help limit contamination and evaporation. The glassware market reflects this practical demand: Grand View Research estimated its global value at about US$4.6 billion in 2023. That figure describes a broad market, not proof that glass is right for every procedure.

Material choice matters. Borosilicate glass tolerates many routine heating and chemical-handling tasks, while some samples are better kept in compatible plastic containers. Check the vessel’s stated temperature limits, chemical compatibility, and calibration markings before use. Inspect rims and bases for chips or cracks under good light; a hairline flaw is easy to miss. Small details matter. A vessel that looks clean may still carry residue, so follow a validated cleaning method and keep sample containers covered when practical.

Tips: Match the container to the sample and the next step. Label it before filling, use a secondary tray for transport, and avoid touching the inside of caps or vessels. For accurate volumes, use calibrated equipment and read the meniscus at eye level. I’d also question any habit of reusing containers without checking compatibility; convenience is not always worth the uncertainty.

Instruments for Measuring and Observing Materials

What Are the Top Types of Science Lab Equipment?
Instruments for Measuring and Observing Materials

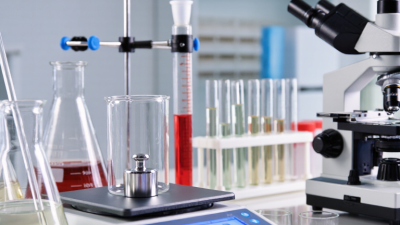
Laboratory instruments turn visible changes and tiny differences into usable evidence. A balance measures mass, while a pH meter tracks acidity. Calipers check sample dimensions. Small shifts matter. For observing materials, microscopes reveal surface details, and spectrophotometers measure how much light a sample absorbs at selected wavelengths. Magnification alone is not resolution; a larger image may still look blurry.

A reading is not automatically exact. NIST Technical Note 1297 and the JCGM Guide to the Expression of Uncertainty in Measurement describe expanded uncertainty using a coverage factor. With a factor of 2, uncertainty is approximately 95% under suitable statistical assumptions. That matters when comparing samples: a tiny difference may fall within measurement uncertainty. A warm sample, a smudged cuvette, or an unlevel balance can also distort results. Good technique helps, but it does not remove every source of error.

Tips: Let samples and instruments reach a stable temperature. Zero balances before weighing, clean optical surfaces, and record units, settings, and uncertainty. Repeat a reading when results seem surprising. Don’t hide an awkward result; check the setup and note what may have influenced it.

Equipment for Heating, Mixing, and Separating Substances

In a science lab, heating, mixing, and separating equipment helps make changes in small samples visible. A beaker holds liquids during gentle warming, while a heat-resistant flask allows more controlled heating and swirling. A hot plate provides steady heat; use a thermometer to check the sample’s temperature. Do not seal it.

Mixing tools range from glass stirring rods to magnetic stirrers. A rod gives direct control, while a stirrer maintains an even motion and leaves hands free for observations. For powders, a mortar and pestle can break up clumps, though they may not produce a uniform blend. In practice, textbook results are not guaranteed; small differences in stirring or heating can change what you see.

Separation methods depend on the materials’ properties. Filter paper retains insoluble solids while liquid passes through, though wet paper can slow the flow. A centrifuge separates suspended particles by density, and a separatory funnel drains distinct liquid layers. With evaporation, a shallow dish lets solvent leave gradually, but overheating may cause splattering or alter a sample. Small changes matter. Inspect glassware for chips, and record temperatures, times, and visible changes.

What Are the Top Types of Science Lab Equipment? - Equipment for Heating, Mixing, and Separating Substances
Equipment Category Typical use Important handling note
Bunsen burner Heating Provides an adjustable gas flame for heating suitable materials and performing flame tests. Use with appropriate heat-resistant apparatus; keep flammable materials away and never leave a lit burner unattended.
Hot plate Heating Heats beakers, flasks, and other compatible containers without an open flame. The surface may remain hot after switching off. Use heat-resistant gloves or tongs when appropriate.
Heating mantle Heating Heats round-bottom flasks evenly, often during reflux or distillation. Choose a mantle that fits the flask and use it with suitable electrical controls; do not use a damaged unit.
Water bath Heating Provides relatively gentle, controlled heating for samples in tubes, bottles, or other containers. Keep electrical components dry and avoid immersing containers beyond their safe fill level.
Magnetic stirrer Mixing Rotates a magnetic stir bar to mix liquids, often while maintaining a steady stirring speed. Use a compatible stir bar and vessel; secure the vessel and begin at a low speed to reduce splashing.
Vortex mixer Mixing Rapidly mixes small liquid samples in tubes by creating a swirling motion. Close tubes securely and hold them firmly against the mixer head to prevent spills.
Overhead stirrer Mixing Uses a rotating shaft and mixing tool to stir larger volumes or more viscous liquids. Clamp the vessel and stirrer securely, and keep loose clothing and hair clear of the rotating shaft.
Filter funnel and filter paper Separating Separate suspended solids from a liquid by gravity filtration. Seat the paper properly in the funnel and pour slowly to avoid overflow or tearing the filter.
Separatory funnel Separating Separate immiscible liquid layers, such as an aqueous phase and an organic phase. Stopper and invert carefully, vent frequently away from people, and identify the layers before draining.
Centrifuge Separating Separates components of a suspension by spinning samples at high speed. Balance opposing tubes, use compatible tubes and rotors, and wait for the rotor to stop before opening.
Distillation apparatus Separating Separates liquid mixtures based on differences in boiling behavior by vaporizing and condensing components. Never heat a sealed system; secure glassware and provide a clear path for vapor and pressure release.
Büchner funnel and vacuum flask Separating Perform vacuum filtration to collect a solid from a liquid more quickly than gravity filtration. Use glassware rated for vacuum, inspect it for cracks, and release the vacuum before dismantling the setup.

Safety Gear and Support Tools for Laboratory Work

What Are the Top Types of Science Lab Equipment?

Safety Gear and Support Tools for Laboratory Work

Safety gear works best when it is easy to reach and fits the task. Splash goggles, suitable gloves, and lab coats help protect against common exposures, but no single item suits every procedure.

Check gloves for tears before handling materials. Replace damaged pairs promptly. Small details matter.

Support equipment is just as important. A clearly marked eyewash station, accessible first-aid supplies, and a stocked spill kit can help workers respond quickly. Fume hoods should be checked and used according to laboratory procedures.

Keep benches uncluttered, and store heavy items on lower shelves. These simple habits make safety equipment usable, not merely present.

The National Academies’ 2014 report, Safe Science, described a survey of about 2,400 academic chemists; roughly 30% reported experiencing a laboratory injury. The figure is self-reported, so it cannot predict risk in every lab. Still, it is a reason to take routine protections seriously.

A checklist can become a ritual if nobody notices missing supplies. I have to admit, that is easy to overlook. Regular inspections, clear labels, and brief practice drills help keep safety tools ready when work gets busy.